
Single Phase Electric Motor/Winding Testing
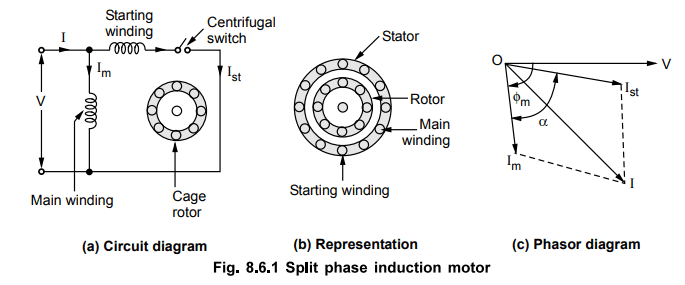
Diagram Of Single Phase Electric Motor.
Aim: To test and identify the main winding(Running Winding) and auxiliary windings((Starting Winding ) of a single-phase motor using a multimeter, and to establish the correct electrical connections for proper motor operation.
Apparatus Required:
- Digital Multimeter
- Connecting Wires
- Tester
- Single phase motor
- Hand gloves
- Note pad to calculate the value
Identifying. Single Phase Electric Motor
Terminals: Single Phase Electric Motor typically have two windings:
- Running (Main) Winding: Provides continuous operation.
- Starting (Auxiliary) Winding: Assists in motor start up.
Testing Procedures :Single Phase Electric Motor
1.Continuity Test (Open Circuit Detection):
Purpose: To verify that the windings are not broken (i.e., no open circuits).
Procedure:
- Set the multimeter to the continuity mode.
- For the Running Winding:
- Connect one terminal and other terminal of the winding.
- A continuous beep indicates the winding is intact; no beep suggests an open circuit.
- For the Starting Winding:
- Connect one terminal and other terminal of the winding.
- Interpret the results as above.
2. Resistance Test:
Purpose: To measure the resistance of each winding and identify discrepancies.
Procedure:
- Set the multimeter to the resistance (ohms) setting.
- Measure the resistance between:
- Running Winding
- Starting Winding
- Compare the readings:
- The starting winding typically has higher resistance than the running winding due to thinner wire and more turns.
- Significantly different readings may indicate issues such as shorted turns or partial opens.
- 3. Insulation Resistance Test:
Purpose: To ensure there is no short circuit between the windings and the motor frame.
Procedure:
- Set the multimeter to the highest resistance range.
- Connect one probe to the motor frame (ground).
- For each winding terminal, connect the other probe and measure the resistance.
- A very high resistance indicates good insulation; low resistance suggests a short to the frame.
Now, For Resistance Measurement:
Identify Terminals: Label the terminals as T1, T2, and T3 if not already marked.
Measure Resistances Between :
- T1 and T2
- T1 and T3
- T2 and T3
Terminal Identification:
- The highest resistance indicates the path through both the main and starting windings Called Common windings
- The intermediate resistance corresponds to the starting winding
- The lowest resistance pertains to the main winding/Running Winding
Results/Observation: Single Phase Electric Motor
| Terminal Pair | Resistance (Ω) Value | Winding Identification |
| T2and T3 | 406 | T1(Common=Both Starting & Running Winding) |
| T1 and T2 | 165 | T2(Running Winding) |
| T1 and T3 | 243 | T3 (Starting Winding) |
Connecting to Power Supply:
Power Supply: Connect the live wire to the common Winding terminal.
Running Winding : Connect to the neutral wire.
Starting Winding : Connect in series with a starting capacitor, and then to the neutral wire.
- Capacitor: Connect one end to the Start terminal and the other end to the Run terminal.
- Reversing Motor Direction:
- To reverse the motor’s rotation, interchange the connections of the running and starting windings.
Safety Precautions:
- Ensure the motor is completely disconnected from any power source before performing measurements.
- Use a properly functioning multimeter set to the correct measurement range.
- Double-check all connections and measurements to ensure accuracy.
Conclusion:
By performing these resistance measurements and analyzing the results, you can accurately identify the start, run, and common windings of a motor. This information is crucial for proper wiring and troubleshooting of the motor.